Installing an EV car charger in your home is one of the more complicated electrical jobs in residential electrical. Now this being said, you don’t have to hire a professional electrician to do the work, you can pull a homeowners electrical permit in your municipality and follow the steps below on How to install an EV car charger in my [your] home?. *This is the case in our area, make sure to check the rules and regulations in your specific municipality.
1. Check your electrical panel to make sure there are enough free spaces available.
First things first, make you you have the space to add the breaker. If you do not have the free spaces required you will need to look into upgrading your electrical panel or getting a sub panel installed.
How to know if your electrical panel has enough spaces for an EV car charger?
Most EV chargers are 240 volts, this means you will need 2 free spaces in your electrical panel. Look at how the circuit breakers are installed in your panel and you will see if there is enough free space.
2. Complete an electrical load calculation on your electrical service.
Anytime you are adding electrical equipment to your home that draws 1.5 kilowatts of power or more requires an electrical load calculation to be completed to determine if your electrical service has the capacity for the new equipment. Click the link here to download our free home electrical load calculator.
Need help with your electrical load calculation? Reach out to us to have a professional electrician do a full home load calculation.
3. Choose your EV charger.
When it comes to deciding what EV charger is best for your home you first must decide what level of EV charger you want oh, there are three levels of EV Chargers. The EV Chargers that are going to be the most relevant for installing in your home or Level 1 or Level 2.
- Level 1 EV car chargers: 120 Volt, 20 Amp circuit 1.4 kW. Can charge approximately 160 km of driving in 18-25 hours.
- Level 2 EV car chargers: 208 – 240 Volt, 40 Amp circuit 6.2 – 7.6 kW. Can charge approximately 160 km of driving in 5-6 hours.
Most homeowners go with a level 2 EV charger installation. Situations where a level 1 EV charger will be practical is if you have a plug-in hybrid. But if you’re running on a fully electric car and using it as your primary vehicle you may find a level 1 charger cannot keep up. This is why most homeowners with an EV car will go with a level 2 installation.
See one of the best brands of EV chargers, Flo, on their website here.

4. Get an electrical permit.
Now is the time to get the electrical installation permit for the work you’re going to do on your home. Make sure to fully fill out the form and don’t leave out any details.
If you are in BC and are looking to do this on your own click here to be directed to BC Technical Safety Authority.
Is this something an electrician can do for you? Check out our article here.
5. Review the installation instructions and purchase a circuit breaker.
Make sure to carefully read the installation instructions that are provided with your EV car charger. Most EV car chargers run on a 40 amp two-pole circuit breaker but this does Berry from brown to Brand. Also make sure that the circuit breaker you purchased matches up with the brand and model that fits into your electrical panel.
Pro tip: Due to the increased demand of circuit breakers being purchased for EV charger installations, it is getting difficult to find circuit breakers for some panels, especially panels that are out of production. It’s a good idea to check beforehand if you can even get a circuit breaker for your installation.
6. Consult the Canadian Electrical Code to determine the wire size required.
Based on the information you gathered from the installation instructions in the EV charger manual regarding the circuit breaker size is to determine the size of wiring that is required to be installed in your home to feed your EV charger. The way to determine the correct wire size for your installation is to consult the electrical installation standards for your area. Here in BC we would refer to the Canadian Electrical Code book.
Need help determining the wire size for your EV installation? Click here to reach out to a professional electrician for some help.
7. Plan your wirepath.
In some cases getting the wiring from the panel to where your EV charger is going to be installed is pretty easy -namely homes where the electrical panel is mounted in the garage. But in most cases the panel is located in an inconvenient location and requires some creative planning on how you’re going to get the wiring through your home to the garage. Make a thorough plan on the wirepath so that you can get a length measurement for how much wire you’re going to purchase. Keep in mind that you’re going to need to secure the wire or along the wirepath, especially in the attics and accessible spaces so that its secure according to the electrical codes in your area. A good general rule of thumb for how you secure the wire is to put a staple every 6 ft.
8. Run your wiring and secure along the wirepath.
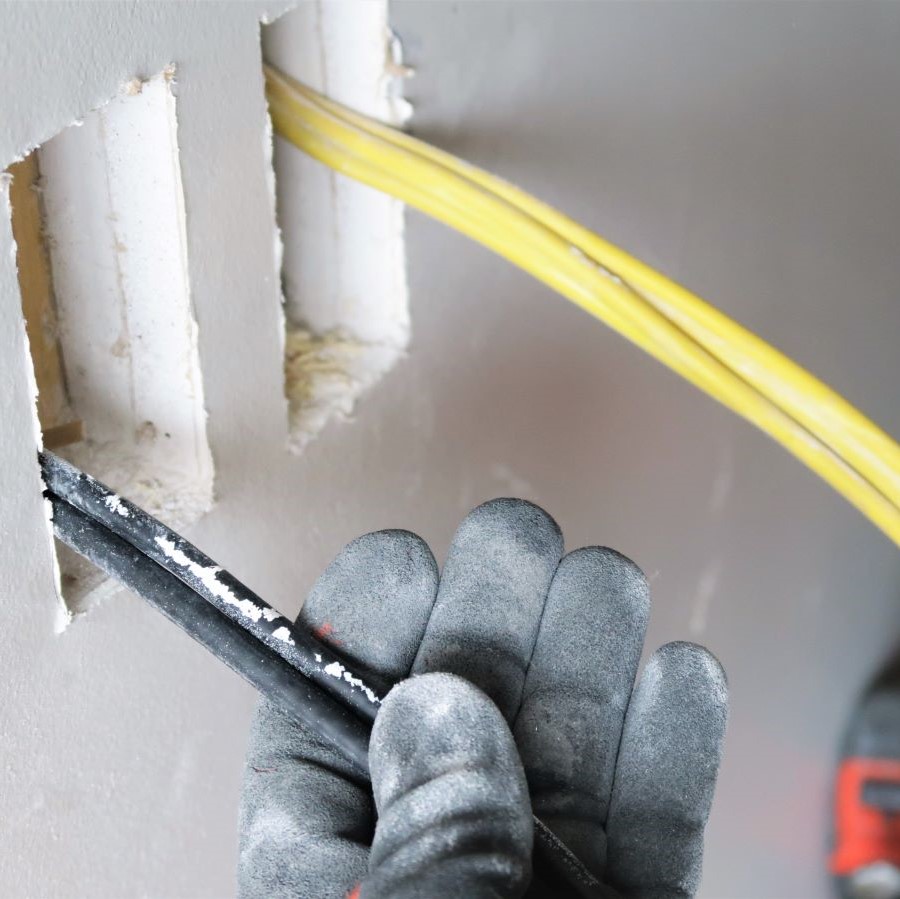
This is where the real work begins, now it’s time to get this wiring through your home. If you’re lucky and your panel is mounted in the garage it shouldn’t take much to get this wiring installed correctly. If you’re like most and your panel is in a different location now is the time to start “fishing” the wiring through your home.
Click here to see how professional electricians can install wiring in your home without drywall damage.

9. Install your EV charger.
You’ve done all the work and got the wiring routed from your panel to where the EV charger is located and secured the wiring along the way or path. Now is the time to install the EV charger. Follow the EV charger installation instructions for mounting and connecting to your network.
10. Make the wire connections.
Now it’s time to make the connections to the EV charger and to the circuit breaker. Start on the EV charger side to make sure you are doing things the most safe way. After the EV charger is connected to power and all the covers are installed you can connect power to the circuit breaker. The safest method to connect power to the circuit breaker would be to turn off the entire panel via the main circuit breaker in your panel. With the main breaker “off” the entire panel will be off -except for the service entrance- so still take extra care to make sure you don’t touch any live electrical parts and service entrance.
Pro Tip: Working in your panel is by far the most dangerous part of this installation. You turned off the main circuit breaker so you’ve set yourself up for a safe install. But how do you know there is no extra power in the panel somehow? Make sure to use an electric meter to test the panel to make sure there is absolutely no electricity that could hurt you.
Pro Tip: Professional electricians are very diligent about safety. Even though you know the wire is not connected at the other end it’s a good idea to use a Volt Tick or a Electric Meter to confirm that there is absolutely no electricity somehow in the wiring before you start cutting it to make the connections.
Once both connections have been made -the EV charger connected and the Circuit breaker connected- make sure all of the covers are installed; the panel, EV charger, and any junction boxes that may be along the wirepath. Check both ends to make sure they’re connected and there’s absolutely no possibility for an electrical fault. It’s time to turn on the circuit breaker and power up your EV charger.
11. Take photos and submit an application for final inspection.
Don’t forget that you’ve pulled an electrical permit to do this installation. Now that the installation is complete you need to get some photos of the entire installation so that you can submit an inspection with the electrical inspector. *Please keep in mind this process may be different depending on the municipality you live in so check in detail when you pull the permit what steps are required.
Things you should know about doing yourself:
-Most of the rebates require you to hire and list a certified electrician on the rebate application. If you do this yourself you may not qualify for the rebate.
-To do this work as a homeowner you will need to pull a homeowners electrical permit and submit all the paperwork including the electrical load calculation.
-Working with any electrical system is dangerous and can cause serious injury or death. If you decide to do this work, do it at your own risk. If you are at all unconfident with any of the installation reach out to a professional licensed electrician for help.


